top of page
CATERHAM 420R BUILD


32. Radius Arm
The Radius Arms were very straightforward and per the manual, which indicates the dimpled surfaces of the arms face outwards, the chassis...
Jan 13, 2023
160 views
0 comments


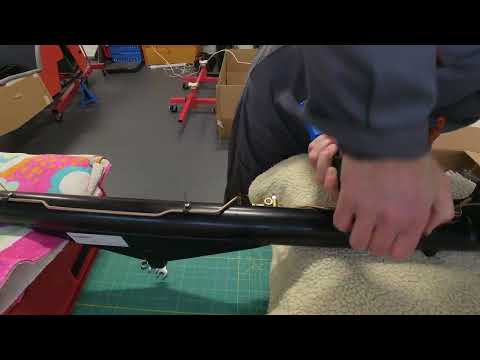
31. Dampers
The Dampers are reputed to be difficult to fit and the advice is to fit the upper bush first and then the lower one. However, when the...
Jan 13, 2023
281 views
0 comments
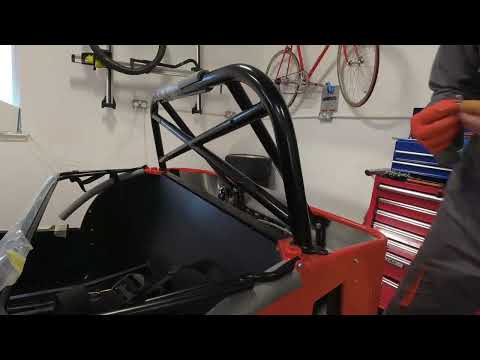
30. Roll Bar
Before going any further with the rear suspension, the Roll Bar needed to be installed. The main bolts that support the Roll Bar would be...
Jan 13, 2023
138 views
0 comments
29. DeDion
There were pre-drilled holes in the top of the DeDion tube indicating the riveting points for the brake line. However, these holes were...
Jan 13, 2023
260 views
0 comments


28. Dry Sump Guard
Where the Bell Housing contacts the underside of the Engine and Dry Sump, there is a gap which exposes the Fly Wheel. Caterham supply a...
Jan 13, 2023
207 views
0 comments
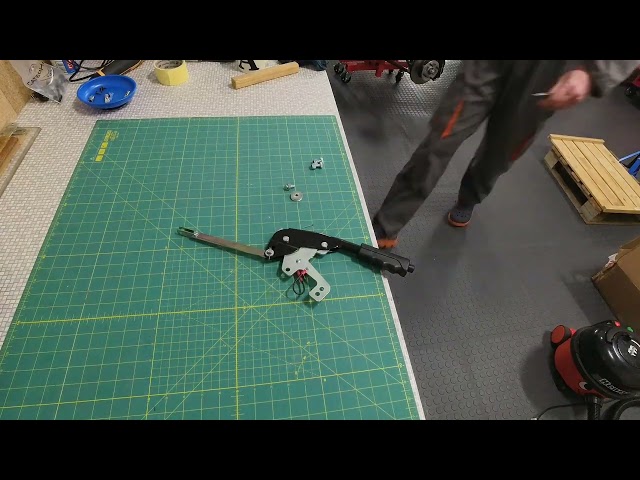
27. Handbrake
The handbrake microswitch was tested to establish (a) which of the two contacts should be used for correct operation and (b) to ensure...
Jan 11, 2023
126 views
0 comments


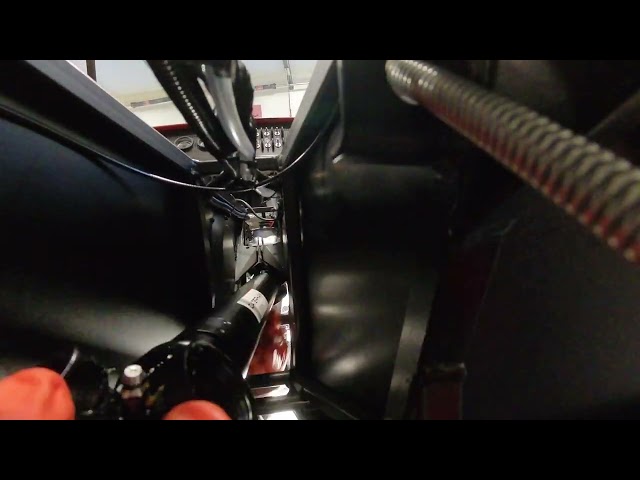
26. Differential
Diff = Difficult! The engine hoist was setup to lift the differential unit using a pair of ratchet straps. It took some time to get to...
Jan 11, 2023
396 views
0 comments
25. Propshaft
On delivery, the propshaft grease nipples were covered in paint. This was removed and the joints were verified as being pre-filled with...
Jan 8, 2023
164 views
0 comments


24. Front Lights
The lights had been put on the back-burner until some feedback from Caterham had been received. When the first headlight was unpacked it...
Jan 8, 2023
529 views
0 comments


23. Throttle Cable
The throttle cable runs from the top of the accelerator pedal, through and out of the pedal box, loops around the front of the engine and...
Jan 8, 2023
108 views
0 comments
22. Steering Column
The Steering Column is split into two parts, upper and lower, both of which are fitted through the opening in the cockpit. The lower was...
Jan 2, 2023
180 views
0 comments
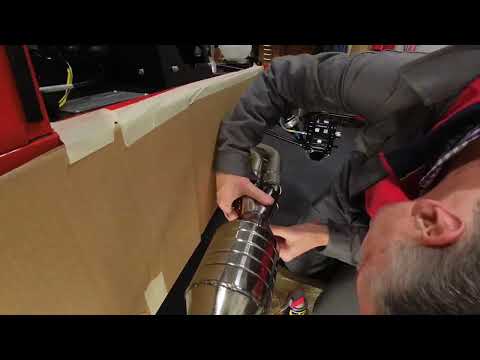
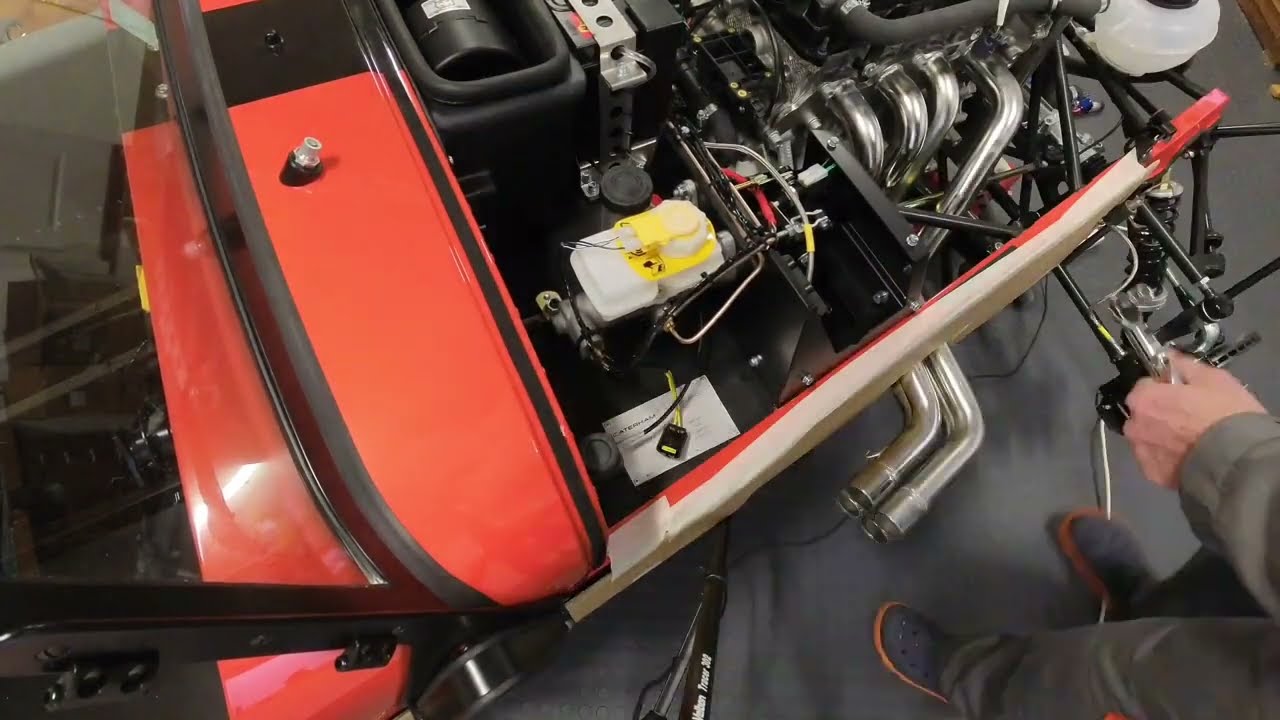
21. Collector
The fitment of the Collector requires it to be slid into the end of the four Primaries. There is a risk of the Primaries being held too...
Jan 2, 2023
118 views
0 comments
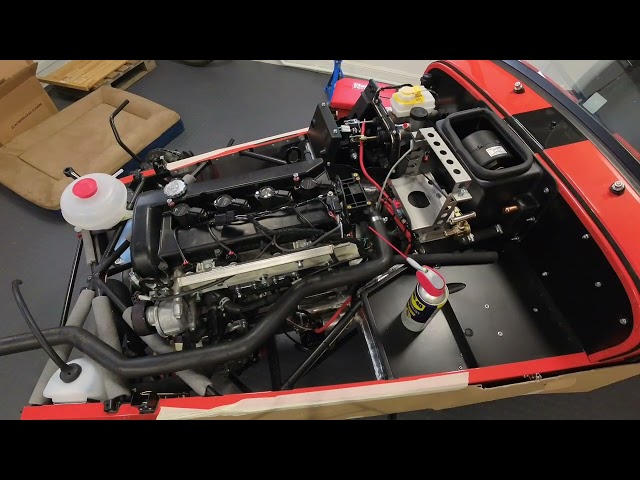
20. Air Box
Fitting the Air Box is straightforward except for the seal fits between the box and the bonnet. The issue is that the air intake is...
Jan 2, 2023
143 views
0 comments


19. Catch Tank
Having previously drilled the necessary holes and fitted the catch tank bracket, the remaining task was to fit the oil hose from the top...
Jan 2, 2023
126 views
0 comments


18. Oil Hoses
The hoses that connect the oil tank, dry sump and oil cooler are notorious. They use a specialised connector that have a draft angle on...
Jan 2, 2023
234 views
0 comments


17. Oil Tank
Once the primaries were installed, the oil tank was fitted. This turned out to be a bit fiddly. the oil tank was dropped into position in...
Dec 29, 2022
165 views
0 comments


16. Primaries
As per my build plan, I knew that I could not install the oil tank (and therefore the oil plumbing) until the primaries were installed....
Dec 29, 2022
139 views
0 comments
15. Plumbing
Having sorted out which hose goes where, I started the process of installing the plumbing by connecting the two lengths of hose to the...
Dec 29, 2022
256 views
2 comments


14. Plumbing - preparation
There was quite a bewildering array of hoses that came with the kit and some of them require cutting and modification. Being nervous of...
Dec 28, 2022
236 views
0 comments


13. Heater
Before starting the engine plumbing, I wanted to install the heater. This was relatively straightforward with the fan unit and radiator...
Dec 28, 2022
169 views
0 comments
bottom of page